

How to Groom Your Dog at Home: A Step-by-Step Guide
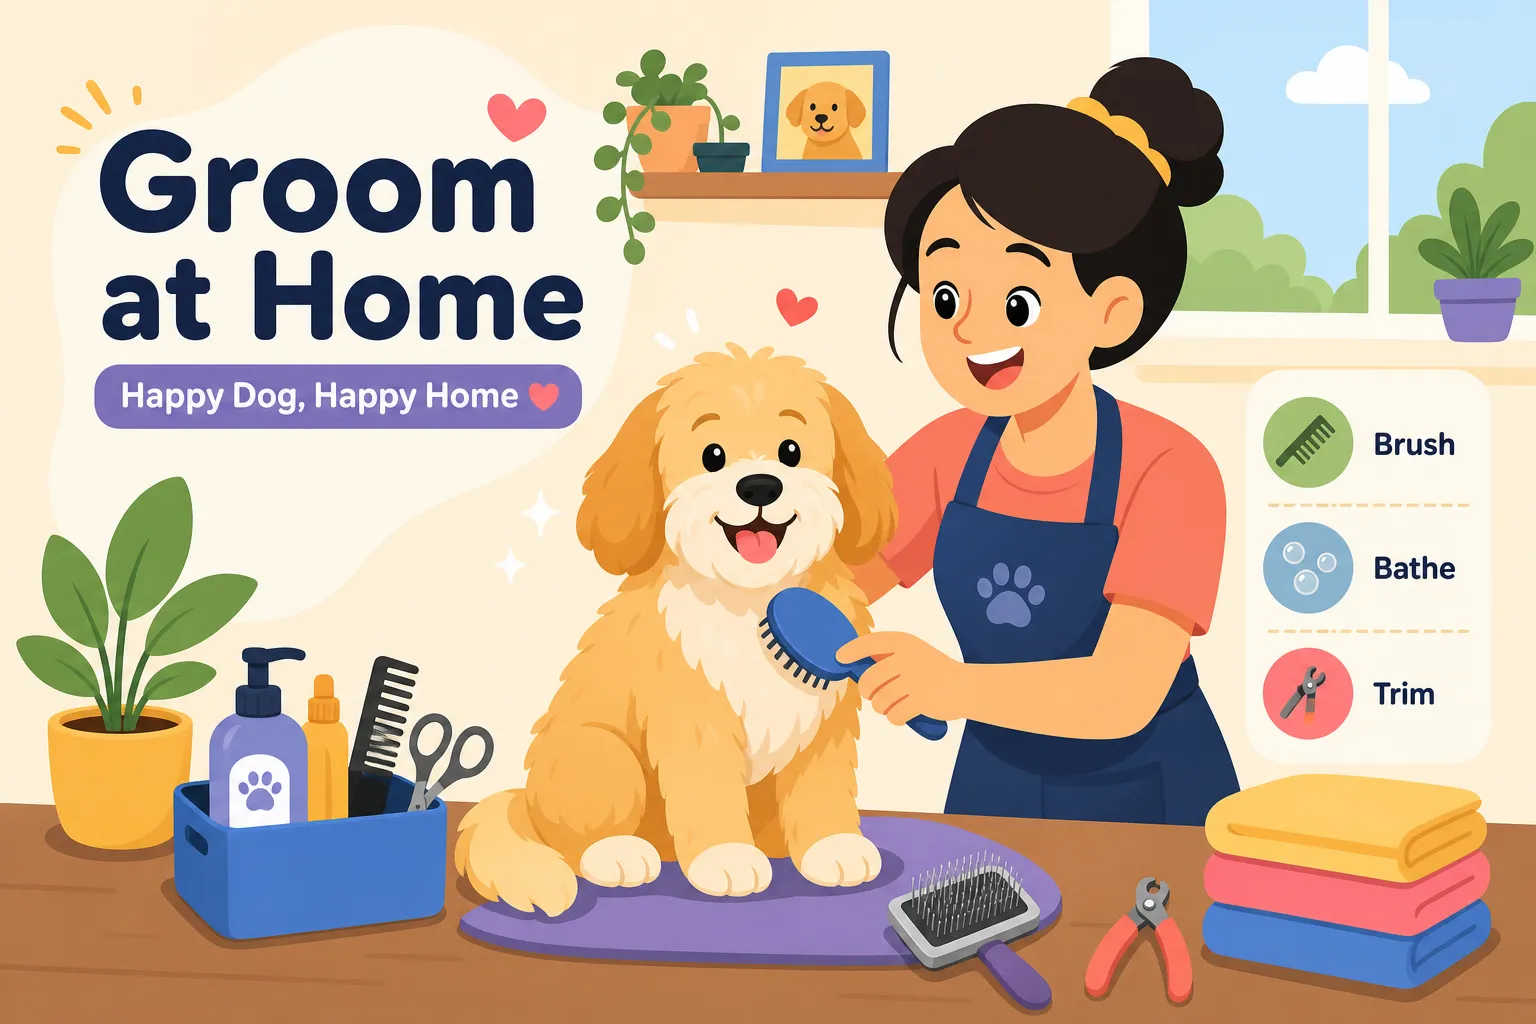
If you've been putting off grooming your dog at home because it feels intimidating, here's the reality: many grooming tasks can be done safely at home without professional training, though some situations still call for a professional's help. The nail clicking on your hardwood floors, the fur bunching up around the eyes, the coat that smells like it needed a bath three weeks ago, all of it is fixable with the right tools and a clear process. This guide walks you through every core step of DIY dog grooming: bathing, brushing, dematting, trimming, and nail care. By the end, you'll have a clean, comfortable dog and enough confidence to repeat the routine without second-guessing yourself.
One thing most first-timers underestimate is how much the gear matters. The right brush for your dog's coat type, the right shampoo, the right scissors, these decisions strongly affect both safety and results, and they work best when paired with solid technique. We'll cover all of that first, so you're not improvising once water is already running.
The right tools make at-home dog grooming actually work
What every home grooming kit needs
A functional starter kit covers five categories: a slicker brush, a metal comb, nail clippers or a grinder, dog-specific shampoo, and rounded-tip scissors. Each one has a specific job. The slicker brush removes loose hair and surface mats, while the metal comb finds hidden tangles deeper in the coat before they worsen. Dog-specific shampoo is formulated to protect your dog's skin pH; human shampoos can disrupt it, leading to dryness and flaking. A solid starter kit covering the brush, comb, and nail grinder typically runs $30 to $50 and handles roughly 80% of what you'll encounter at home.
Why the scissors you choose matter more than you think
Rounded-tip (ball-tip) scissors are non-negotiable for trimming around the eyes, paws, and sanitary areas. Standard pointed scissors in these zones are a puncture risk, and a dog that shifts suddenly makes that risk very real. At Brent's Pet Store, the grooming scissors are designed with everyday pet owners in mind rather than professional groomers. They feature safety-rounded tips, ergonomic handles, and blade lengths suited for detail work, a solid option if you're building your kit from scratch. One tool to avoid: mat-splitting rakes, which can injure the skin. A slicker brush and comb used correctly are safer alternatives for working through tangles.
Tools for specific coat types
Short and smooth coats like Beagles and Boxers do well with a rubber curry brush and a basic nail clipper. Double-coated, heavy-shedding breeds like Huskies and German Shepherds need an undercoat rake or de-shedding tool in addition to standard brushes, especially during spring and fall. Long, curly, or wiry coats benefit from full clippers with guard attachments and a de-tangling spray, since those coat types are the most mat-prone and require the most maintenance between baths.
How to bathe your dog at home the right way
Before the water turns on
Always brush before bathing. Washing a matted coat traps moisture under the fur, which makes dematting harder afterward and can worsen existing skin conditions. Once you've brushed through, place cotton balls loosely in the ears to block water entry. Gather everything you need before you start: dog shampoo, several thick towels, a washcloth for the face, and a non-slip mat for the tub or bathing area. Once the water is on, you want your hands free and your supplies within reach.
Shampooing and rinsing without causing skin irritation
Use lukewarm water only. Test it with your inner wrist or elbow, both of which are more sensitive to temperature than your palm. Start wetting from the rear and work forward, and use a damp washcloth on the face rather than directing the stream at it. Rub shampoo into your palms first, then massage it into the coat from neck to tail. Rinse multiple times until the water runs completely clear. Leftover shampoo residue is the primary cause of post-bath itching and flaking, and it's the step most people rush.
Drying without overheating or spooking your dog
Pat or squeeze the water out of the coat rather than rubbing aggressively. Vigorous rubbing damages the coat structure and increases tangling. If you use a blow dryer, set it to the lowest heat and speed, hold it at least one foot from the skin, and keep it moving constantly so heat doesn't concentrate in one spot. Wrap the dog in a warm towel immediately after and keep them in a warm room until fully dry; this prevents post-bath chills, which can hit smaller and short-coated dogs quickly.
Brushing and dematting based on your dog's coat type
How often different coats actually need brushing
Short-haired breeds like Labradors and Beagles need weekly brushing, though dogs with a dense undercoat may need every other day. Medium-haired breeds like Golden Retrievers typically need one to two sessions per week, while long-haired breeds like Cocker Spaniels generally require two to three sessions per week. Silky coats like Yorkies and Lhasa Apsos need daily brushing to stay mat-free. Curly and wavy coats such as Poodles and Labradoodles are the most mat-prone, so daily or every-other-day brushing is standard. Double-coated breeds like Huskies and German Shepherds run two to three times per week normally, but that bumps to daily during spring and fall shedding seasons.
How to remove mats safely without causing pain
Apply a dog-safe detangling spray or leave-in conditioner to the mat before you do anything else. Never dry-brush a mat, it tears the coat and hurts. Hold the fur close to the skin with your non-dominant hand so the skin isn't pulled up into the brush as you work. Use short, gentle strokes with a slicker brush or comb, starting at the outer edge of the mat and working inward. For stubborn mats, a dematting comb in a slow sawing motion can help. If the mat is tight against the skin and won't budge after consistent, gentle effort, stop and call a professional. Forcing a mat that close to the skin risks cuts and skin tears that may need veterinary care.
Trimming fur around eyes, paws, and sanitary areas
Setting up for safe trimming at home
Use rounded-tip scissors exclusively around the face, paws, and sanitary zones. Before cutting, comb out the area to remove tangles, and check for any redness, discharge, or swelling. If anything looks irritated or infected, consult a vet before proceeding. Good lighting and a non-slip surface are both required, a restless dog on a slippery table is the most common cause of accidental nicks. If you're looking for scissors built specifically for home haircuts on dogs, rounded-tip options from Brent's Pet Store are designed with this kind of detail work in mind.
Trimming around the eyes
Place your free hand's finger or a comb between the scissors and the eye as a physical barrier before making any cut. Hold the scissors parallel to the dog's face and angle the tips away from the eye, never point them directly at it. Use the middle section of the scissors, not the tips, and take tiny snips. Less is always more here: uneven spots can be adjusted, but you can't undo a cut made too close to the eye.
Paws and sanitary areas: what to trim and how
For paws, hold the paw firmly, lift the excess hair away from the pad, and trim in small sections. Don't cut too close to the skin between the pads; this causes irritation when your dog walks. For sanitary areas, trim only the excess fur that traps moisture or debris, using slow and deliberate snips. If the area is heavily soiled, matted, or your dog is resistant, leave it for a professional rather than risk a cut in a sensitive zone.
Dog nail trimming at home for first-timers
Understanding the quick before you clip
The quick is the blood vessel running through each nail. Cutting it causes bleeding and pain, which is why dogs that have had a bad nail trim experience often develop lasting anxiety around the process. In light-colored nails, the quick is visible as a pink line. Dark nails hide it entirely, so trim in small increments, stop as soon as you see a dark dot appear in the center of the cut nail surface. That's your signal you're close. Keep styptic powder or cornstarch within reach before you start. Accidents happen even with careful technique, and having it ready prevents the moment from turning into a crisis.
Clippers vs. grinders: which one to use
Clippers are faster and work well for most dogs, but they require more precision to avoid the quick. Grinders remove material gradually, which makes them safer for dark nails where the quick isn't visible, and they produce a smoother finish. The tradeoff is noise: grinders are louder, which bothers some dogs. For anxious dogs, introduce a grinder on a low setting and let them hear and smell it before touching it to a nail. Pairing each step with a treat goes a long way toward making the process tolerable for a nervous dog.
Step-by-step nail trimming at home
- Hold the paw firmly with the nail pointing toward you.
- Clip or grind at a 45-degree angle, removing small increments at a time.
- After each trim, check the center of the nail and continue only if no dark dot is visible.
- Work through all nails, rewarding with a treat after each paw to build a positive association.
- File any rough edges after clipping to prevent snagging on carpet or skin.
When at-home grooming isn't the right call
Signs the job needs a professional groomer
Mats pressed flat against the skin that don't loosen with detangler and gentle brushing are a professional job, full stop. Forcing them risks cuts and skin tears that can become infected. Any redness, swelling, discharge around the eyes or ears, or unusual skin growths should be evaluated by a vet before any grooming happens in that area. If your dog is snapping, trembling, or highly anxious throughout the session, stop. Pushing through a grooming session with a dog in that state creates lasting fear that becomes harder to reverse over time. A professional groomer experienced in low-stress techniques is the better call in that situation.
Breed-specific needs that fall outside basic DIY grooming
Breeds like Poodles, Bichon Frises, and Shih Tzus require full haircuts every four to six weeks that go well beyond basic trimming. At-home maintenance is still worth doing between those visits, but professional appointments remain a regular part of the routine. Short-haired breeds like Labradors and Boxers are the opposite, at-home bathing and brushing covers most of their needs, and professional visits can stretch to every eight to twelve weeks. The goal of a solid home grooming routine isn't to replace the groomer permanently. It's to stretch the time between visits, keep your dog comfortable in between, and cut your costs significantly over the course of a year.
Frequently asked questions about grooming your dog at home
Can I groom my dog at home without any experience?
Yes, most basic grooming tasks, bathing, brushing, and nail trimming, are straightforward to learn with the right tools and a step-by-step approach. Start with lower-stakes tasks like brushing and bathing before moving on to trimming or nail work. Severe matting, skin conditions, or a dog that's highly anxious or reactive are situations where a professional groomer or vet should be involved.
How often should I groom my dog at home?
It depends on coat type. Short-haired breeds need weekly brushing and a bath every four to six weeks. Medium and long-haired breeds need more frequent brushing, one to three times per week, and may need baths every two to four weeks. Nails typically need trimming every three to four weeks for most dogs.
What's the safest way to do a home dog haircut?
Use only rounded-tip scissors around the face, paws, and sanitary areas. Work in good lighting on a non-slip surface, comb out the area before cutting, and take small snips rather than long cuts. If you're attempting a more significant home dog haircut on a breed that typically requires professional clipping, Poodles, Doodles, or Shih Tzus, start with a trim rather than a full cut and go slowly. When in doubt, leave the detailed work to a professional.
Putting it all together
Grooming your dog at home is a learnable skill, and it gets easier with every session. The routine is straightforward once you've run through it: gather the right tools, brush before bathing, rinse thoroughly until the water runs clear, work through the coat based on its type, trim with rounded-tip scissors, and take nails slowly in small increments. Most basic grooming tasks can be learned without professional certification, what it really takes is the right gear and a repeatable process. Severe mats, medical issues, or behavioral concerns are the exception, and those belong with a professional.
If you're building your kit from scratch, Brent's Pet Store's grooming collection is a practical starting point. The tools are selected for at-home use by everyday pet owners, with safety and ease of use in mind rather than the speed and volume demands of a professional setting. Browse the Care collection to find de-shedding gloves, scissors, and grooming essentials organized by category.
The first session is the hardest, for you and for your dog. After that, it becomes a familiar routine. Your dog starts to recognize the process, you get more confident with the tools, and what once felt like a project starts to feel like a normal part of owning a pet.
At-home dog grooming pays off in time saved and lower annual grooming costs after the first session. Get the right tools, follow the steps, and start.